API Key Management
The API Key Management feature allows administrators to create and manage systems that own API keys for tenant integration with external applications. Each system represents a registered client application that needs to authenticate with the Consentrix API.
Prerequisites
Before you begin, ensure you have:
- An active Consentrix Account.
- Appropriate permissions to manage API keys (see Required Permissions).
Required Permissions
| Permission Code | Access |
|---|---|
api_key_management:view | View systems and API keys |
api_key_management:create | Create systems and generate API keys |
api_key_management:edit | Edit system name and revoke API keys |
api_key_management:delete | Delete systems |
Key Features
| Feature | Description |
|---|---|
| Create System | Create a new system API entry for the tenant |
| Edit System | Modify system name |
| Generate API Key | Generate a secure API key (shown only once for security) |
| Revoke API Key | Invalidate an existing API key |
| Delete System | Remove a system and its API key |
| Search | Filter systems by name |
Navigate to API Key Management
- Log in to the Consentrix platform.
- Go to Administration > API Key Management.
You will see a list of all systems for your tenant with their names, API key marks (last 4 characters), and last updated timestamps.
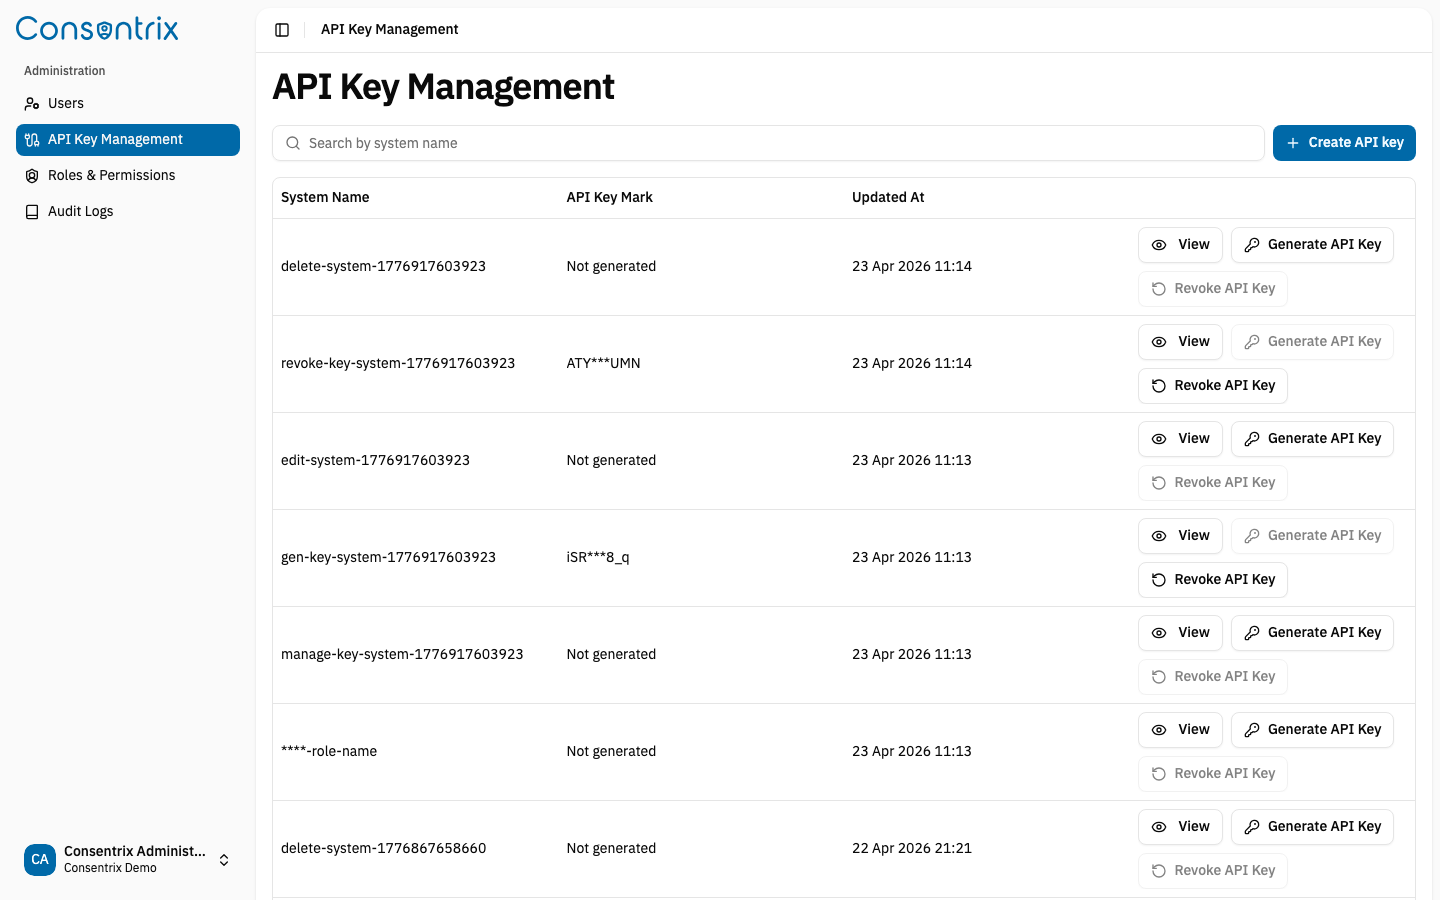
Create a New System
A System is a registered API client that will own an API key for authenticating with the Consentrix API.
Steps
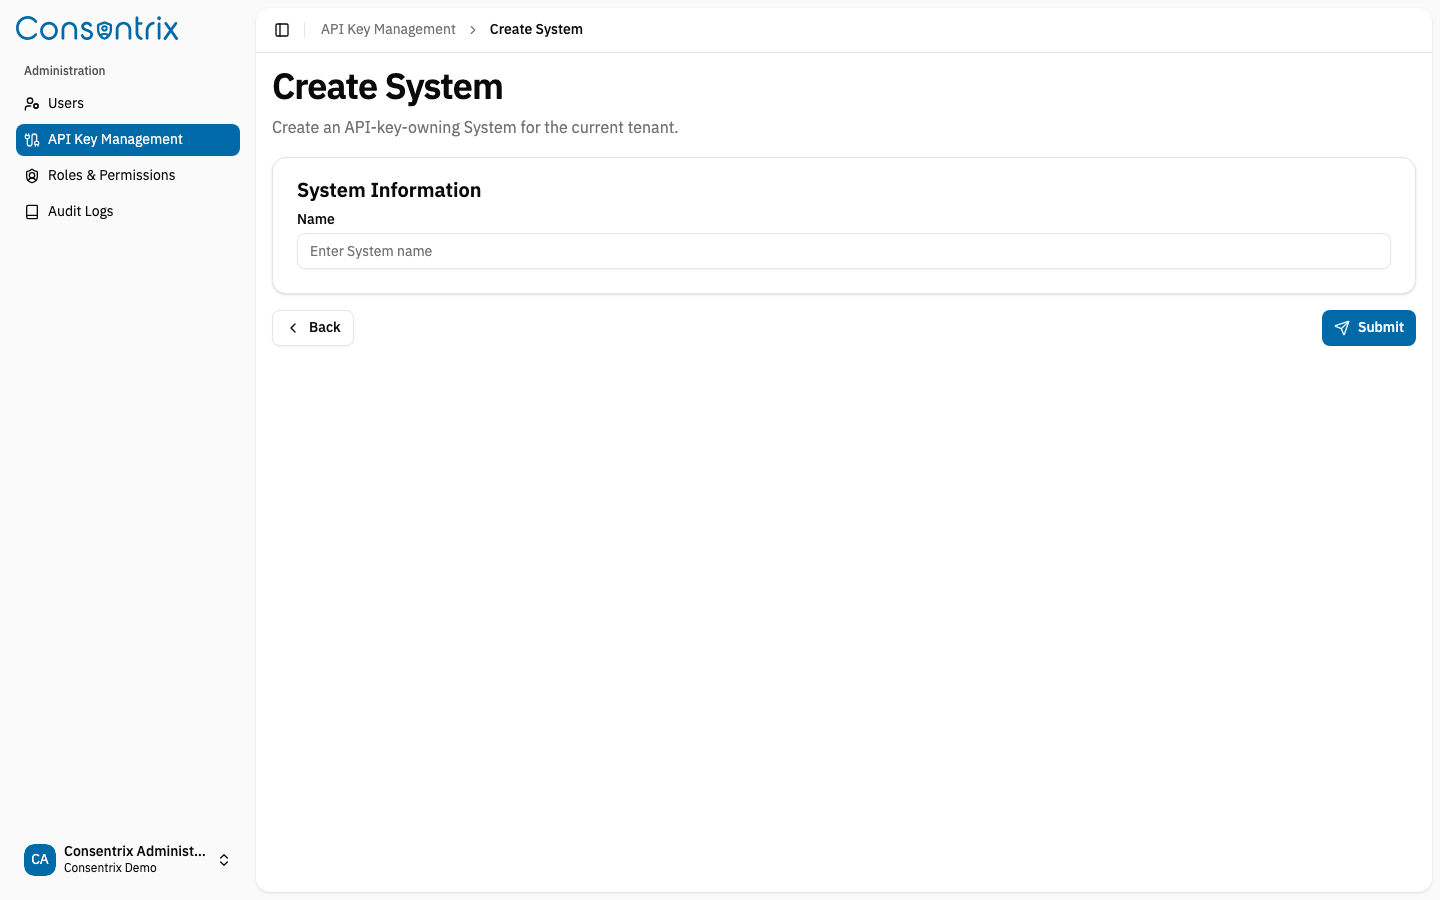
- On the API Key Management page, click Create API key.
- On the Create System page:
- Enter a unique System Name (e.g.,
mobile-app-ios,checkout-service,crm-integration).
- Enter a unique System Name (e.g.,
- Click Submit.
- You will be redirected to the System Detail page.
Tip: Use descriptive names that indicate the application or service using the API key. This helps with identification and auditing.
View System Details
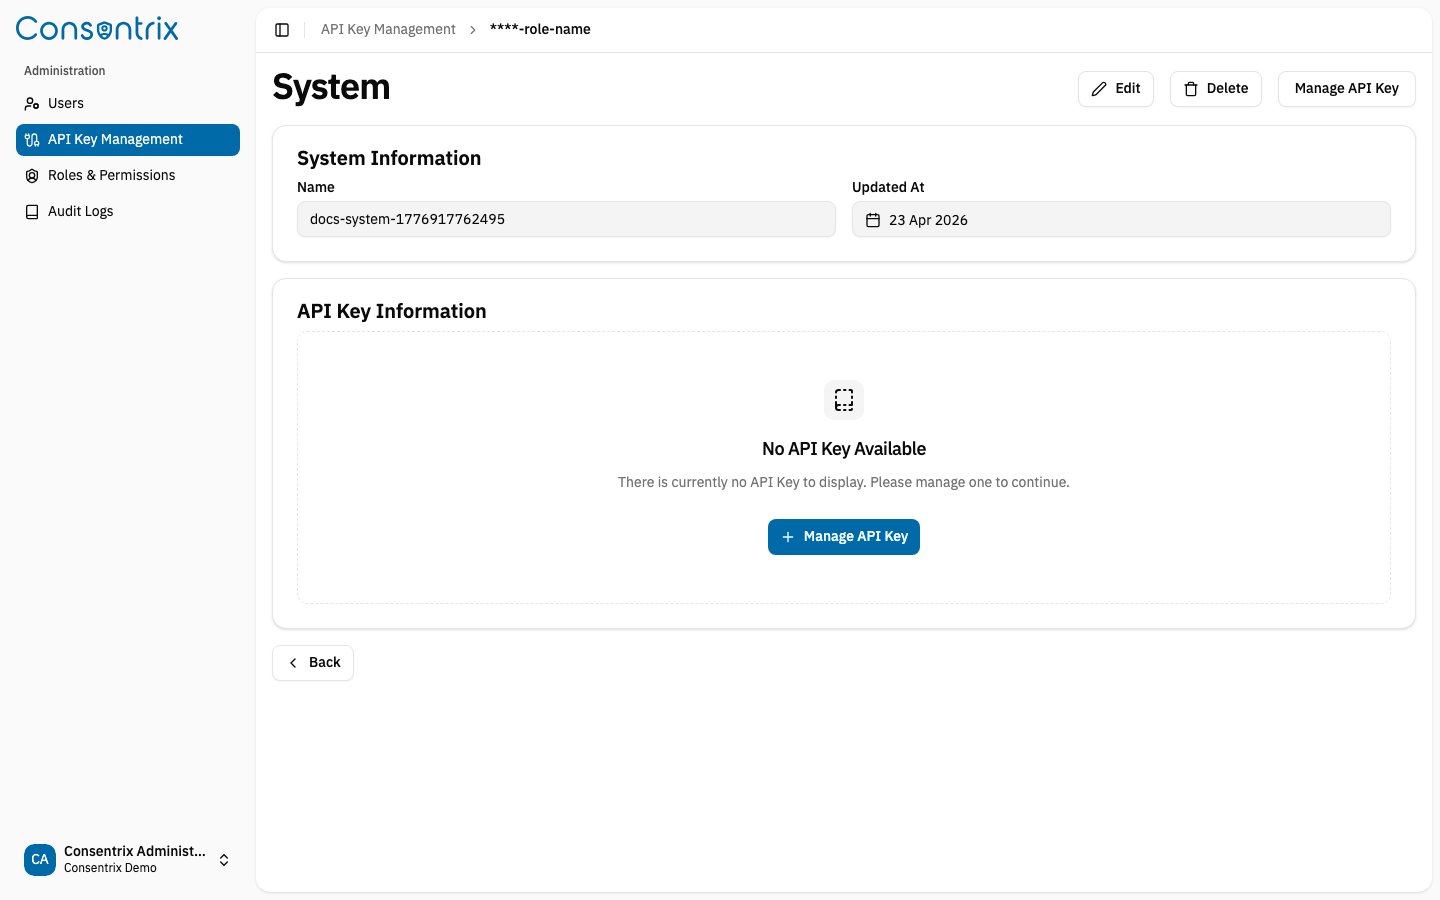
The System Detail page displays information about a specific system:
| Field | Description |
|---|---|
| System Name | Name of the system |
| API Key Mark | Last 4 characters of the API key (or "Not generated") |
| Last Updated | Timestamp of last modification |
From this page, you can:
- Manage API Key (generate or revoke)
- Edit the system name
- Delete the system
Manage API Key
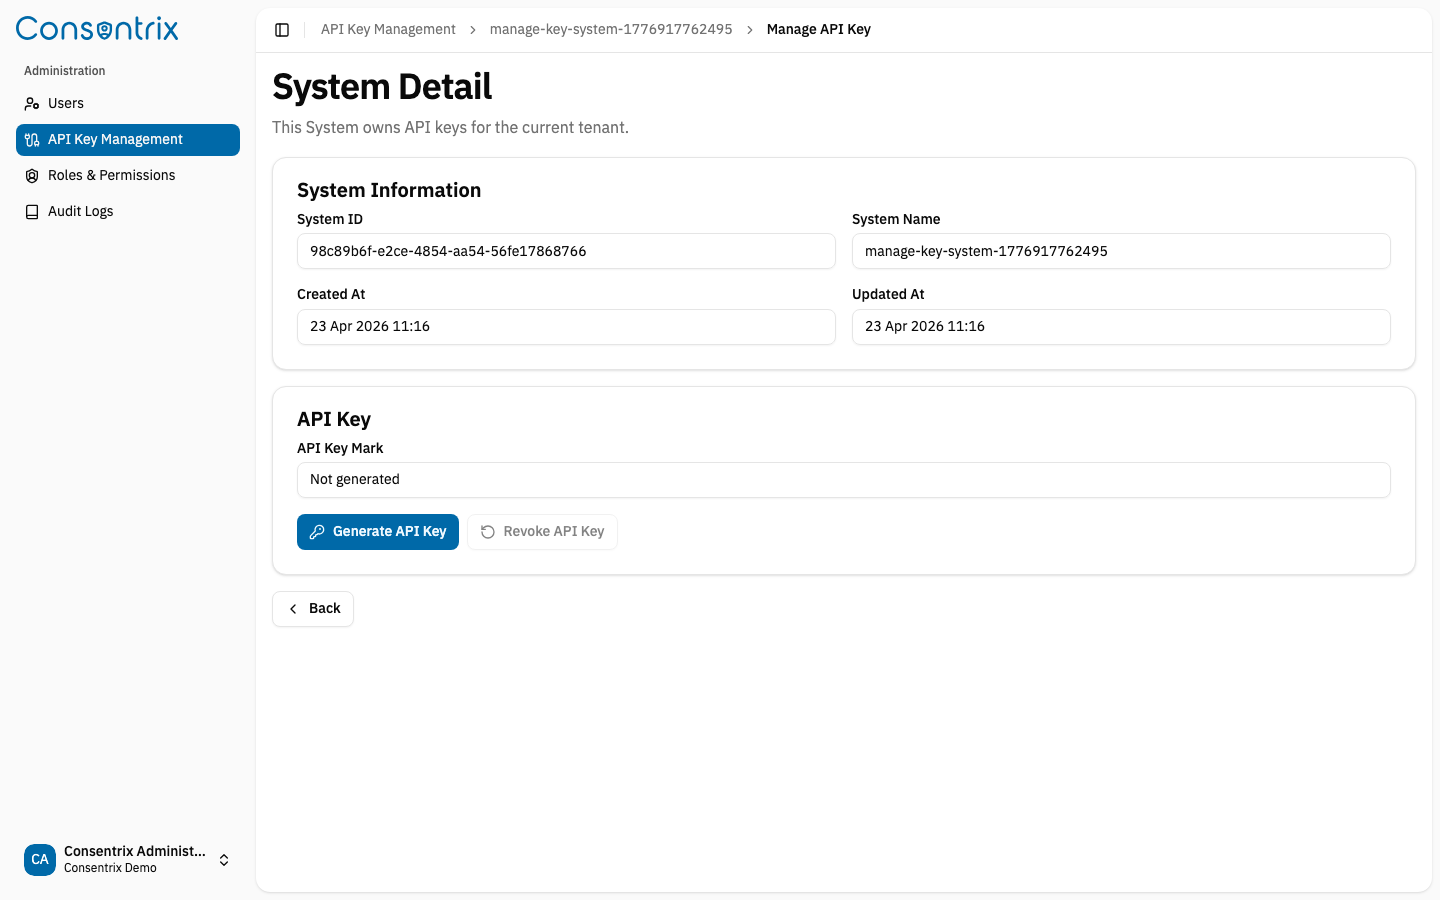
From the System Detail page, click Manage API Key to navigate to the API key management page.
Generate an API Key
Once a system is created, you can generate an API key for it.
Steps
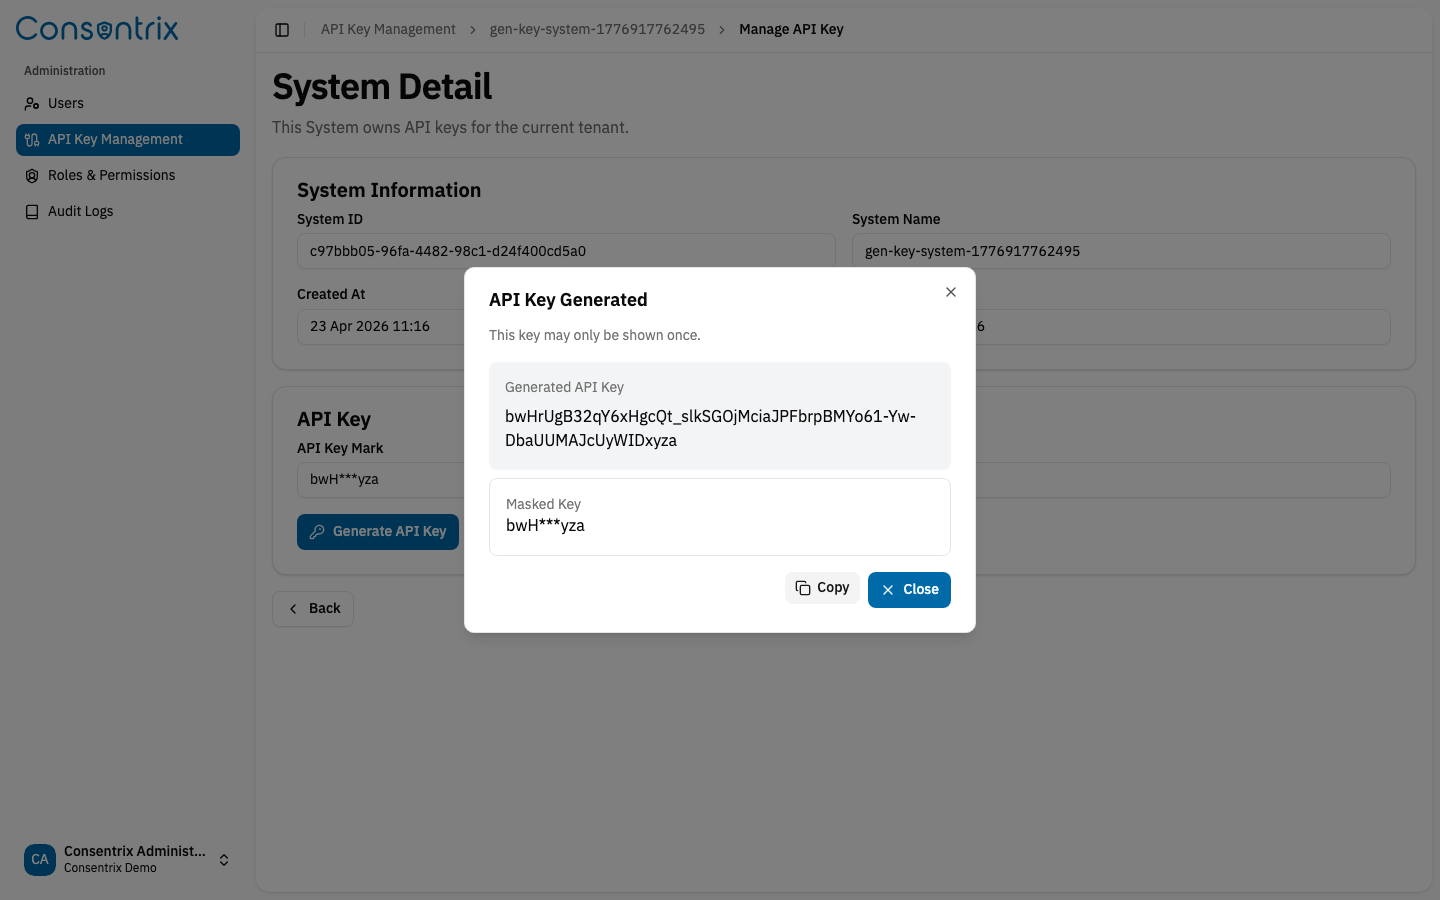
- From the Manage API Key page, click Generate API Key.
- A dialog will appear displaying the full API key and its mark (last 4 characters).
- Important: Copy the API key immediately and store it securely. The full key is only shown once for security purposes.
- Click Close on the dialog.
What happens next
- The API key mark (e.g.,
••••••••••••abcd) will be visible in the system list for identification. - The full API key cannot be viewed again. If lost, you must revoke and generate a new one.
Security Best Practices
- Store the API key in your application's secrets manager
- Never hard-code the API key in source code or commit it to a repository.
- Use separate systems for separate applications — do not share one key across multiple services.
Edit a System
You can modify the name of an existing system.
Steps
- From the API Key Management list, click View on the system you want to edit.
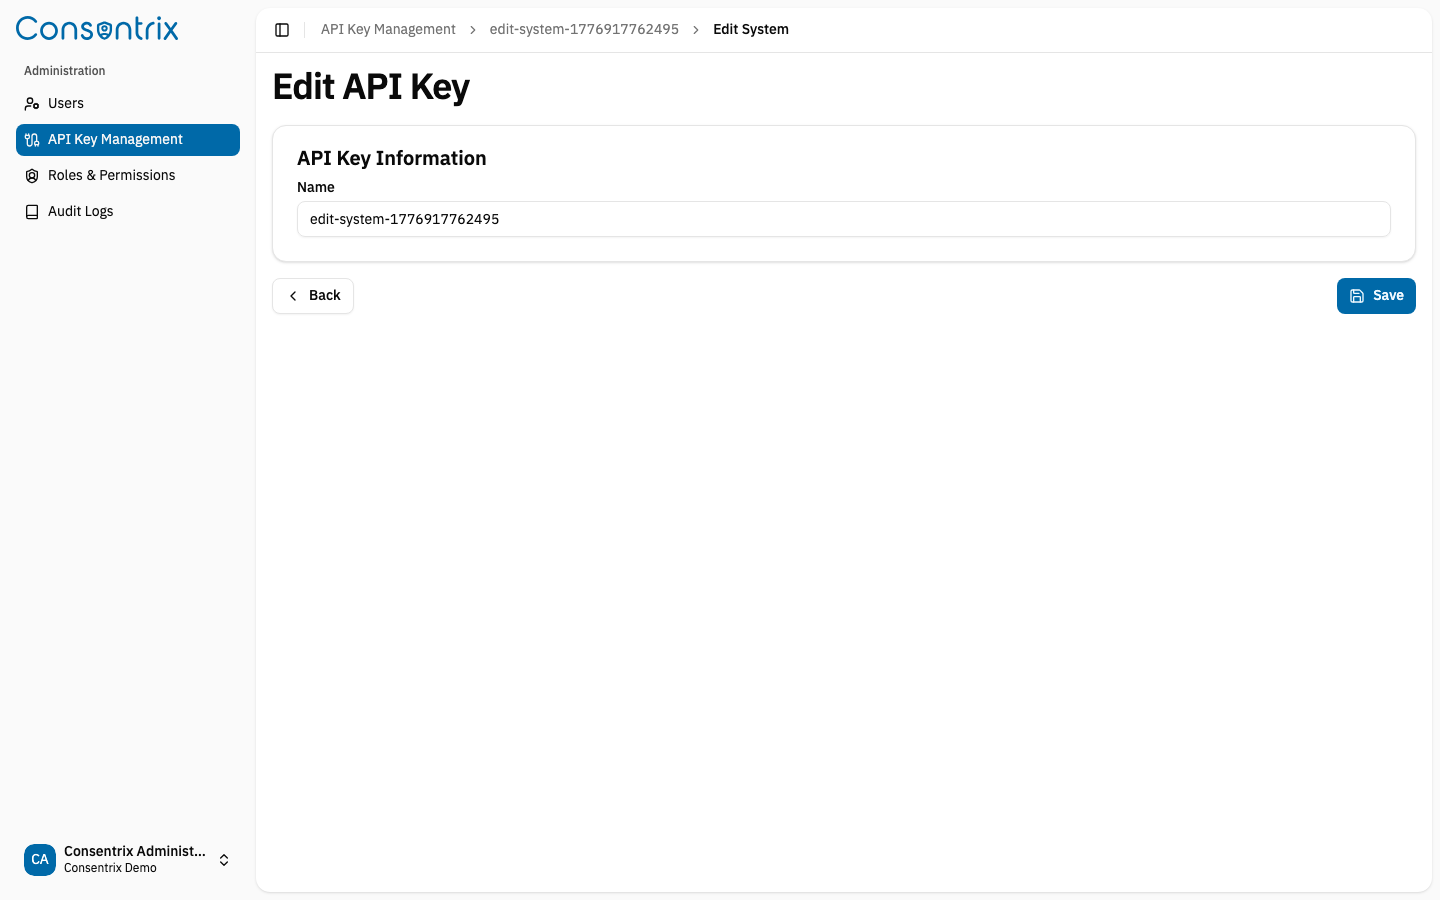
- On the System Detail page, click Edit.
- Modify the System Name as needed.
- Click Save.
- Confirm the changes.
Revoke an API Key
Revoking an API key immediately invalidates it. Use this when you suspect a key has been compromised or when an application is no longer active.
Steps
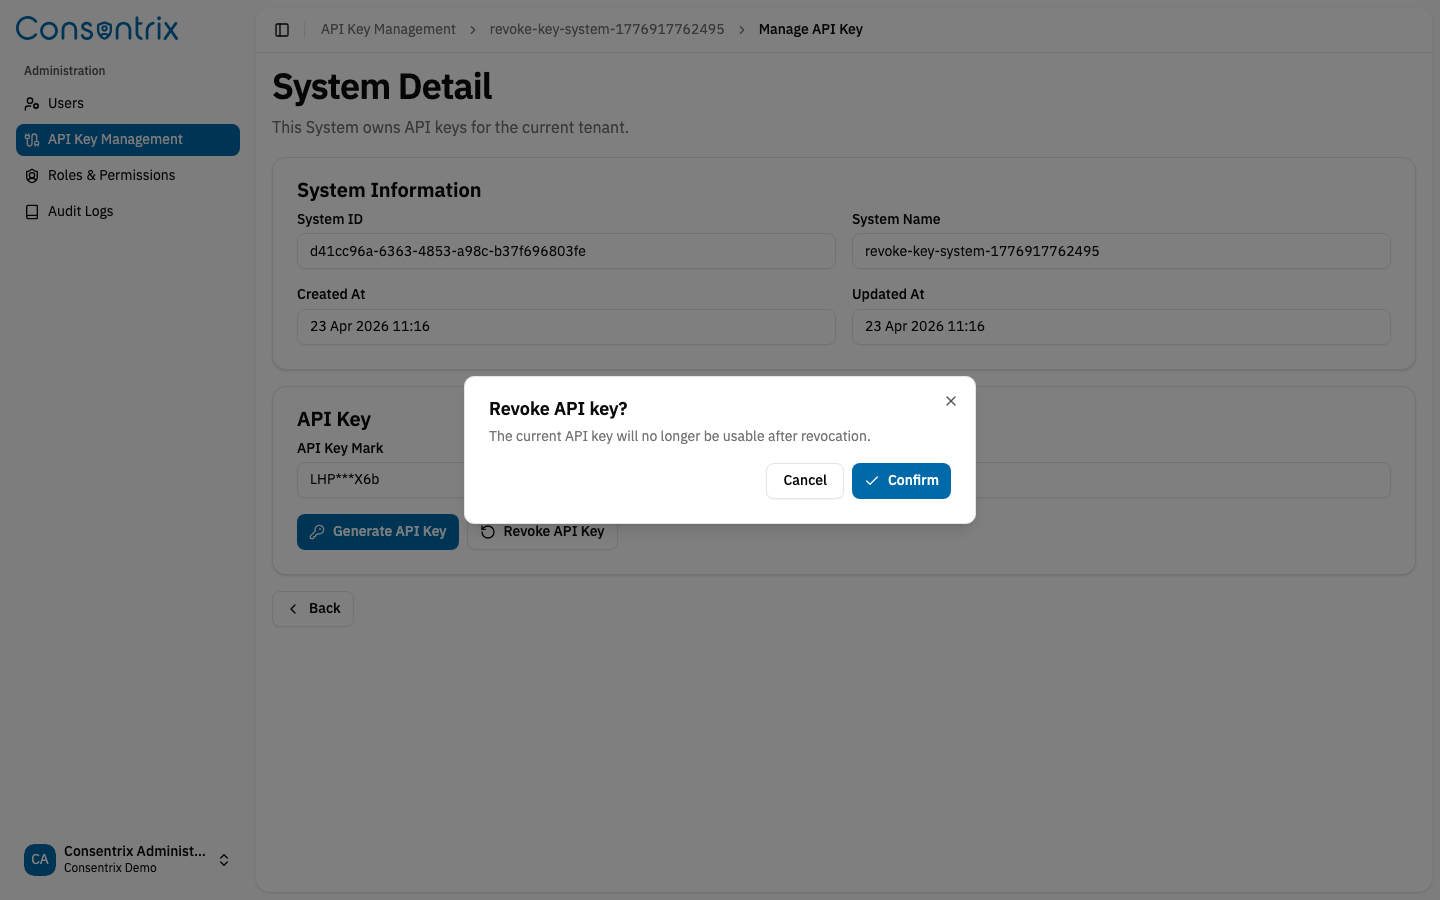
- From the Manage API Key page, click Revoke API Key.
- A confirmation dialog will appear explaining that the current API key will no longer be usable.
- Click Confirm to revoke the key.
Note: After revocation, the system will show "Not generated" as the API key mark. You can generate a new key if needed.
Delete a System
Deleting a system permanently removes it and its API key from the system.
Steps
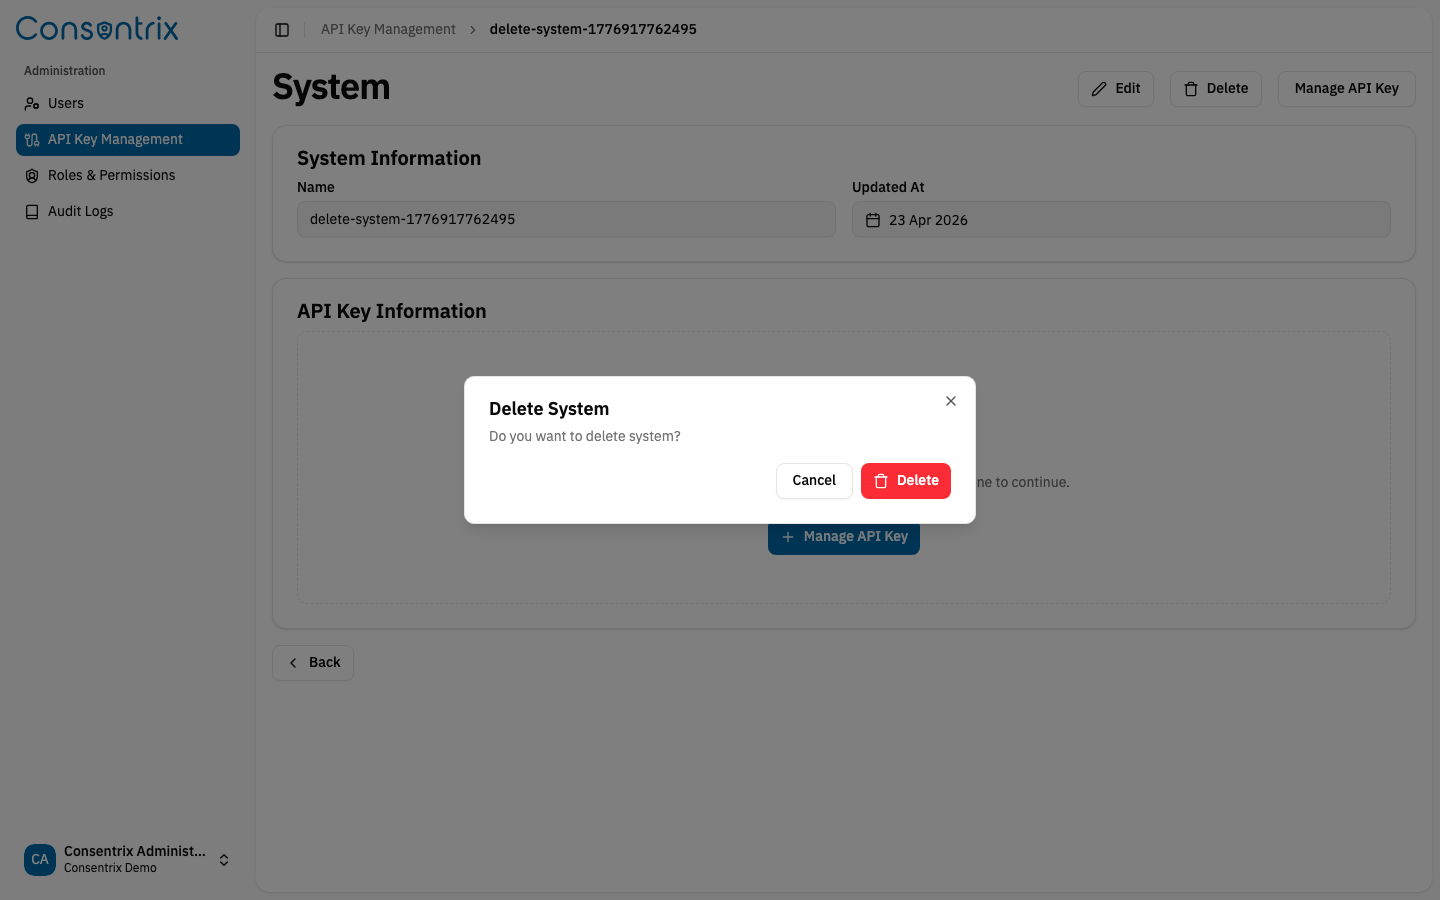
- From the System Detail page, click Delete System.
- A confirmation dialog will appear.
- Click Confirm to delete the system.
Warning: This action cannot be undone. Ensure no applications are using the system's API key before deletion.
Search for Systems
You can filter the system list by name:
- In the search bar at the top of the API Key Management page, enter part or all of a system name.
- The table will filter to show matching systems.
- Clear the search to view all systems.
Best Practices
System Naming Conventions
Use clear, descriptive names that indicate the application or service:
| Good Examples | Avoid |
|---|---|
mobile-app-ios | app1 |
checkout-service | api |
crm-integration | system |
API Key Security
- Store Securely: Save API keys in your application's secrets manager or environment variables.
- Never Commit: Do not hard-code API keys in source code or commit them to repositories.
- One Key Per Service: Create separate systems for each application — do not share keys across services.
- Rotate Regularly: Revoke and regenerate keys periodically or when team members leave.
- Monitor Usage: Use the Audit Log to track API key activities and detect unusual patterns.
Lifecycle Management
- Document Systems: Maintain an internal registry of systems and their purposes.
- Review Periodically: Audit systems regularly and delete unused ones.
- Revoke Promptly: Immediately revoke keys for decommissioned applications.
Troubleshooting
"Generate API Key" button is disabled
- An API key has already been generated for this system. To create a new key, revoke the existing one first.
"Revoke API Key" button is disabled
- No API key has been generated for this system yet.
Cannot see "Create API key" button
- Your user account does not have the
api_key_management:createpermission. Contact your administrator.
Related Links
- API Key Management Guide — Manage API keys in the portal
- Role & Permission Guide — Manage user permissions including API key management
- Audit Log — Track API key management activities
- Identity & Access — Understand systems, API keys, users, roles, and tenant scope